Types of nodes
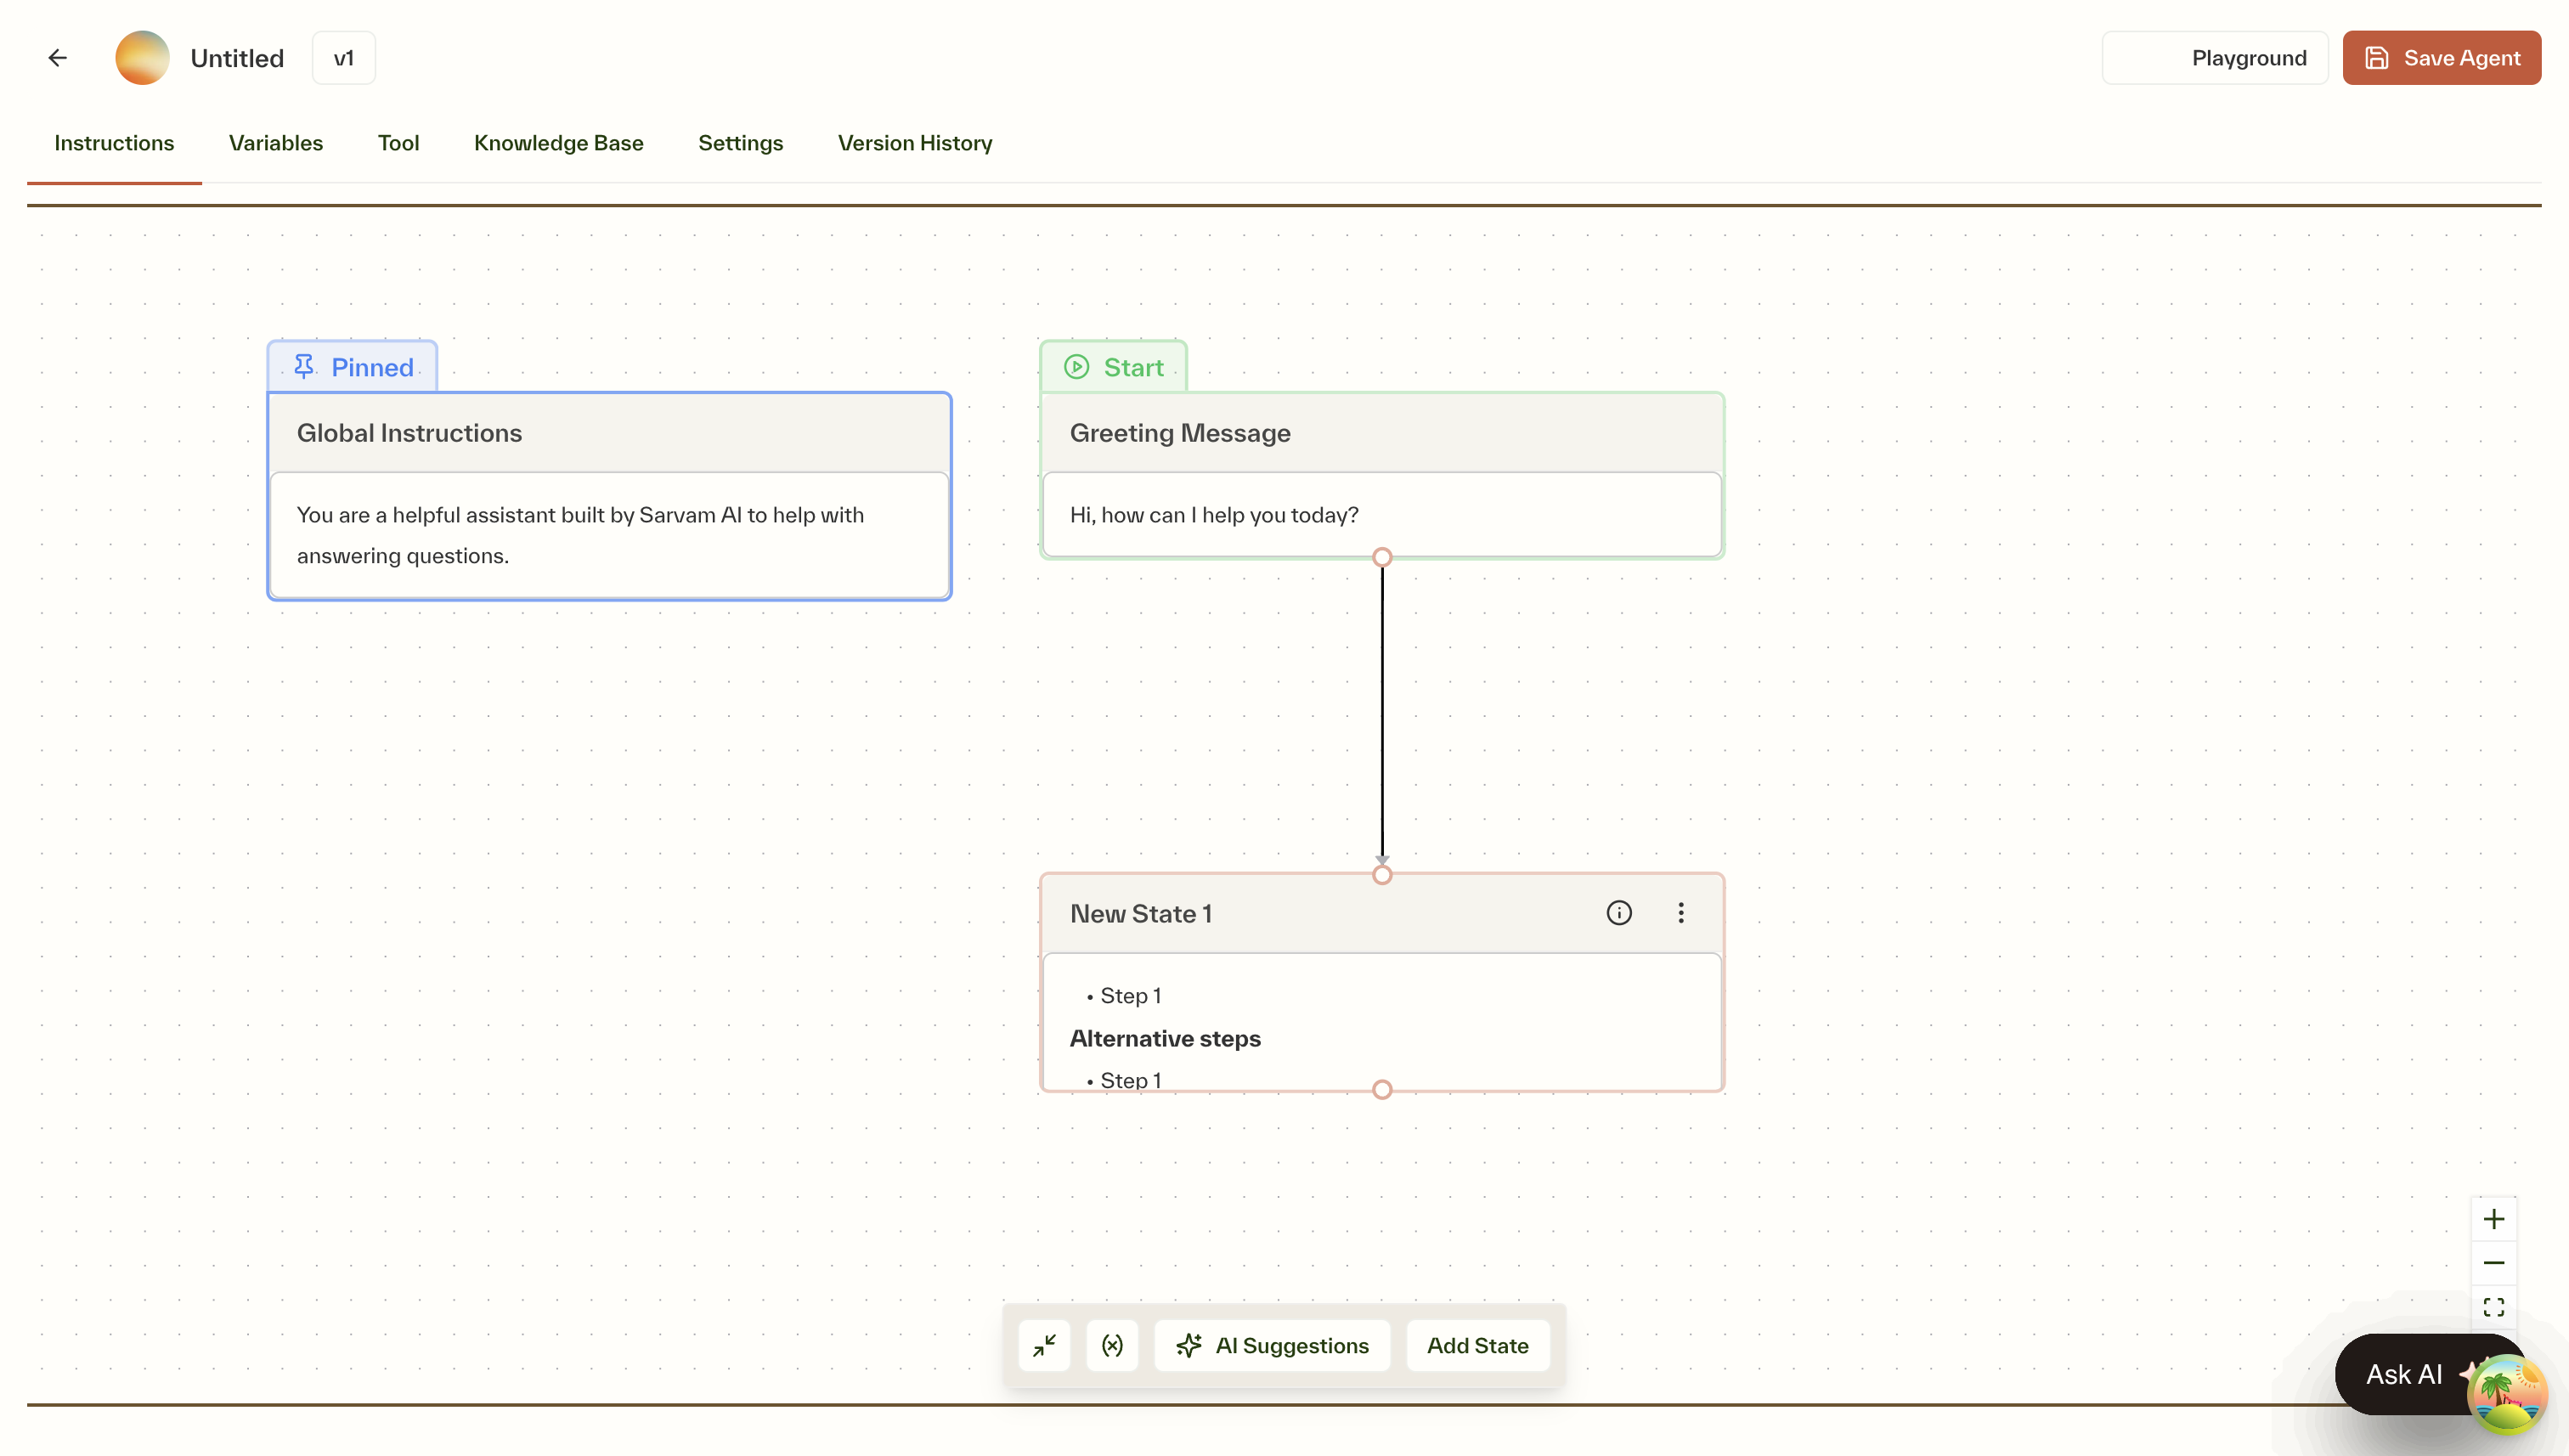
The flow builder uses three types of nodes to structure conversations:Greeting Message Node
The greeting message serves as the entry point for every conversation. It is read out verbatim at the beginning by Sarvam’s voice agents, for both inbound and outbound calls. Keep it short (under 2 lines) and make use of variables to personalize this message, e.g.,
user_name, product_name. Read more here.This node is pinned and cannot be removed.
Global Instructions Node
Defines the core personality and behavior guidelines of the agent. Learn more about writing global instructions here.
This node is pinned and cannot be removed.
State Node
Main conversation states that define the flow of interaction. Learn more about writing state instructions here.
Working with states
Adding & editing states
Configure State Settings
Click any state to open the configuration sidebar, where you can:
- Edit the state’s name
- Write instructions using the rich text editor
- Add variables from a multi-select dropdown
- Configure transitions (Next Available States) from a multi-select dropdown
- Add tools from a multi-select dropdown
Managing state connections
Edges (lines connecting states) are created automatically based on your state configurations. When State B is added to the “Next Available States” list of State A, an arrow is automatically created from A to B. The direction of arrows indicates the flow:- The tail of the arrow is at the state where you added the transition (State A)
- The head points to the state being referenced (State B)
An arrow always appears from the Greeting Message node to whichever state is marked as the Initial State
Important guidelines
Mandatory requirements
State management rules
Initial state configuration
Initial state configuration
- One state must always be designated as the Initial State
- To change the Initial State, first mark another state as initial
- Access this setting via the three vertical dots menu on each state
Deleting states
Deleting states
- Cannot delete a state referenced in another state’s “Next Available States”
- Must remove all references to a state before deletion
- Cannot delete the current Initial State without first changing it
Configuration options
- State node
- Start & global instructions nodes
When you click on a state, the configuration sidebar opens with these options:
- Name: Provide or edit the state name
- Allowed characters:
0-9,a-z,A-Z,_,- - Must be unique across all states
- Allowed characters:
- Instructions: Enter conversation instructions in a rich text editor
- See State Instructions for detailed guidelines
- Tools: Add from a multi-select dropdown
- Variables: Add from a multi-select dropdown
- Next Available States: Add references to other states from a multi-select dropdown
- Save: Save the state’s configuration
Saving your changes
After making any modifications (adding, editing, or deleting states), click “Update Agent” to save your changes. The update will only be allowed if all constraints are satisfied.